No Products in the Cart
 Not that we throw a big shindig or anything crazy, but we like to have a small little party for our kids for Halloween. So, I figured coasters and place cards would be perfect! And, of course, my DecoFoil was the first supply that I thought of!
Therm O Web Supplies:
DECO FOIL™ TRANSFER SHEETS • PUMPKIN
DECO FOIL™ TRANSFER SHEETS • AMBER WATERCOLOR
DECO FOIL™ TRANSFER SHEETS • GOLD
ICRAFT® EASY-CUT ADHESIVE™ SHEETS • LG
MEMORY TAPE RUNNER XL™
Other Supplies:
Hero Arts Black Ink
Sandpaper
Paper Trimmer
X Acto Knife
Spectrum Noir Markers
Scissors
Black Cork Coasters
Mod Podge
Brush
Papertrey Ink Stamp Sets: Friendship Jar Fall Fillers, Been Boo'd
Lawn Fawn Dies: Stitched Leaves, Cole's ABCs
Lawn Fawn Into The Woods Cardstock (or any Halloween or Autumn themed patterned cardstock)
Scoreboard and bone folder
Not that we throw a big shindig or anything crazy, but we like to have a small little party for our kids for Halloween. So, I figured coasters and place cards would be perfect! And, of course, my DecoFoil was the first supply that I thought of!
Therm O Web Supplies:
DECO FOIL™ TRANSFER SHEETS • PUMPKIN
DECO FOIL™ TRANSFER SHEETS • AMBER WATERCOLOR
DECO FOIL™ TRANSFER SHEETS • GOLD
ICRAFT® EASY-CUT ADHESIVE™ SHEETS • LG
MEMORY TAPE RUNNER XL™
Other Supplies:
Hero Arts Black Ink
Sandpaper
Paper Trimmer
X Acto Knife
Spectrum Noir Markers
Scissors
Black Cork Coasters
Mod Podge
Brush
Papertrey Ink Stamp Sets: Friendship Jar Fall Fillers, Been Boo'd
Lawn Fawn Dies: Stitched Leaves, Cole's ABCs
Lawn Fawn Into The Woods Cardstock (or any Halloween or Autumn themed patterned cardstock)
Scoreboard and bone folder
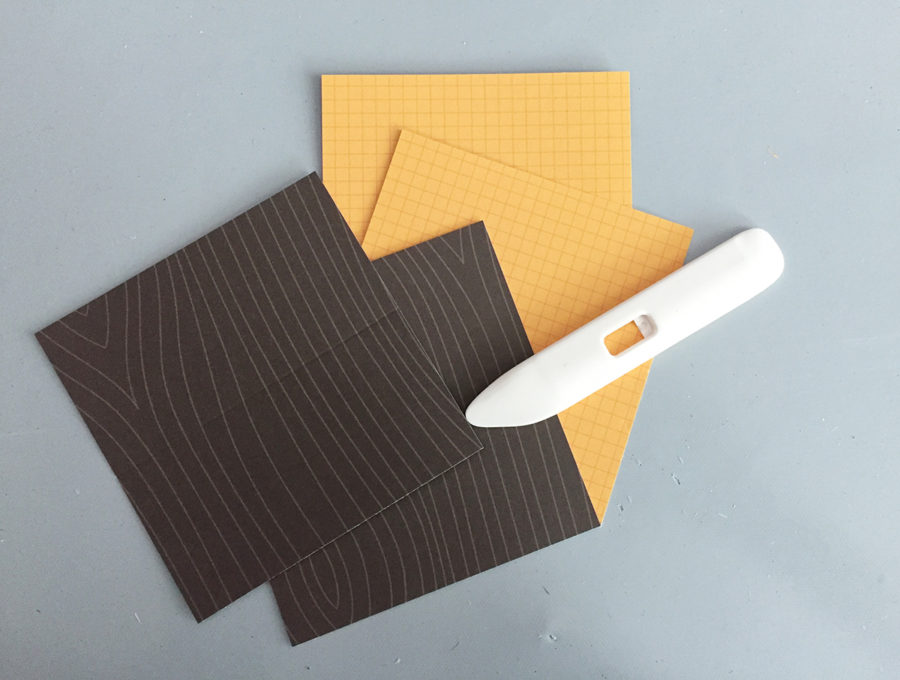
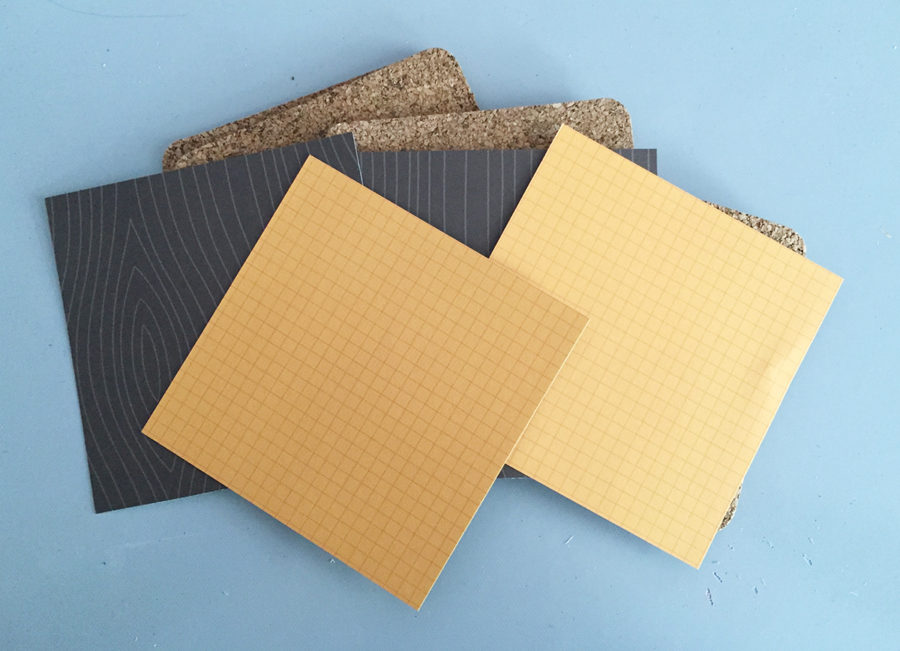
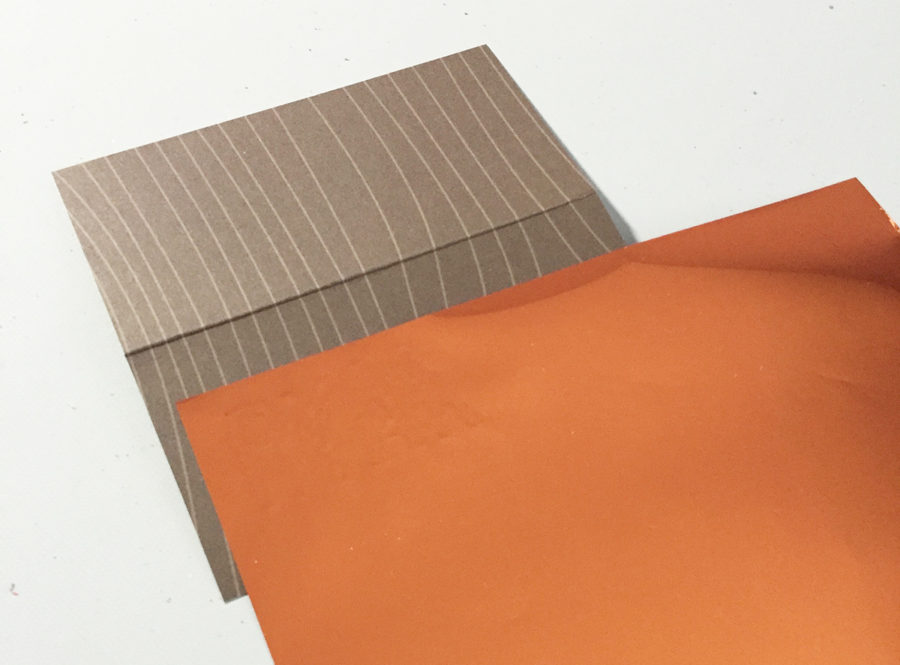
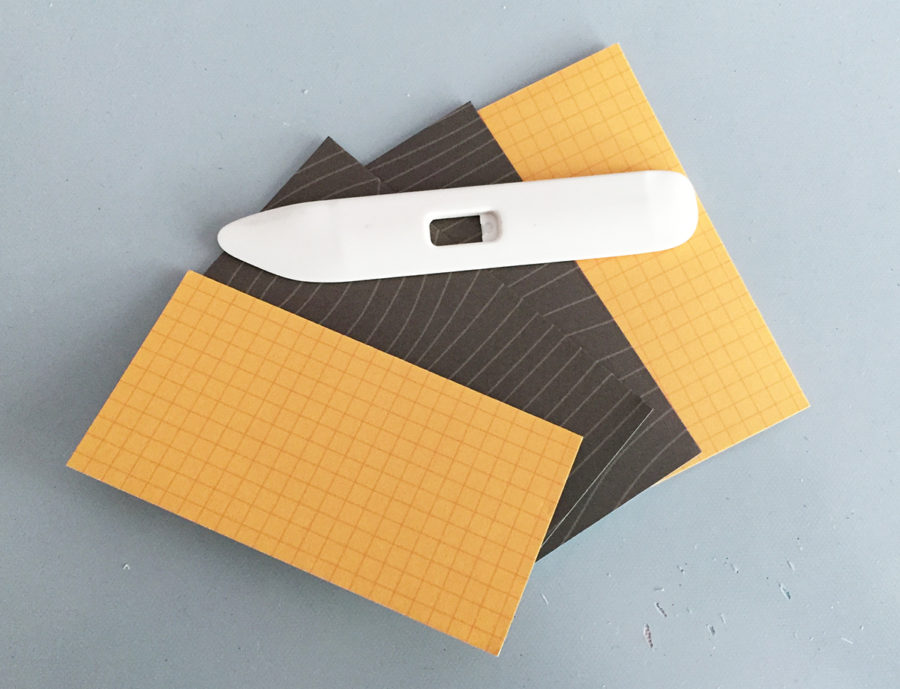 To create the coasters, I trimmed the same papers to the size of the coasters.
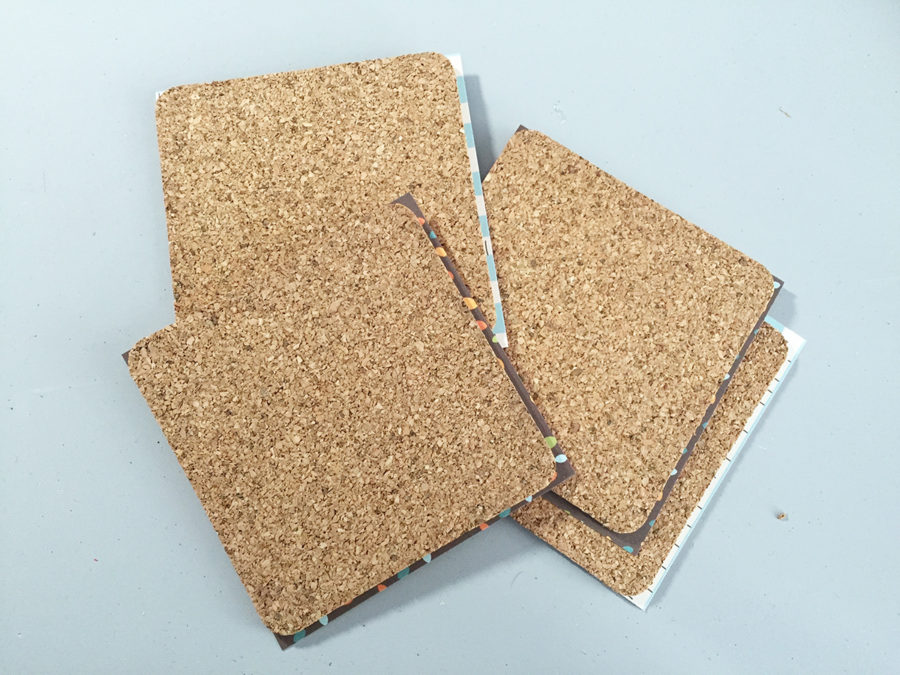
 Then, I adhered them with my Tape Runner. Keep in mind - this is not a permanent adhesive with cork. Plan to seal everything with sealant when you are done. The tape runner will not keep the cardstock on the coasters permanently.
 Using a craft knife, I trimmed the edges and corners.
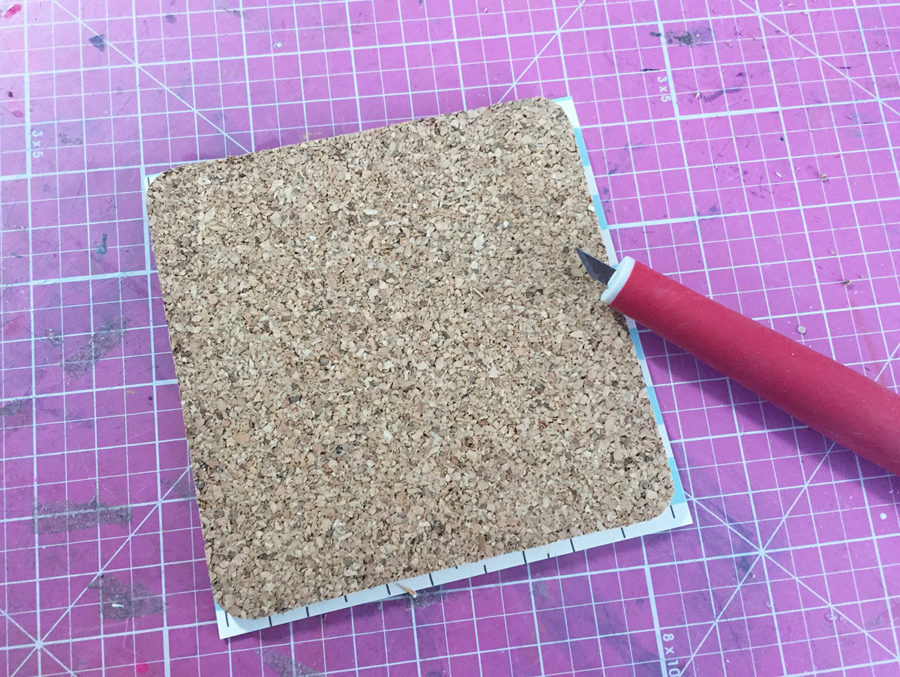 Then I used sandpaper to smooth out the corners and edges.
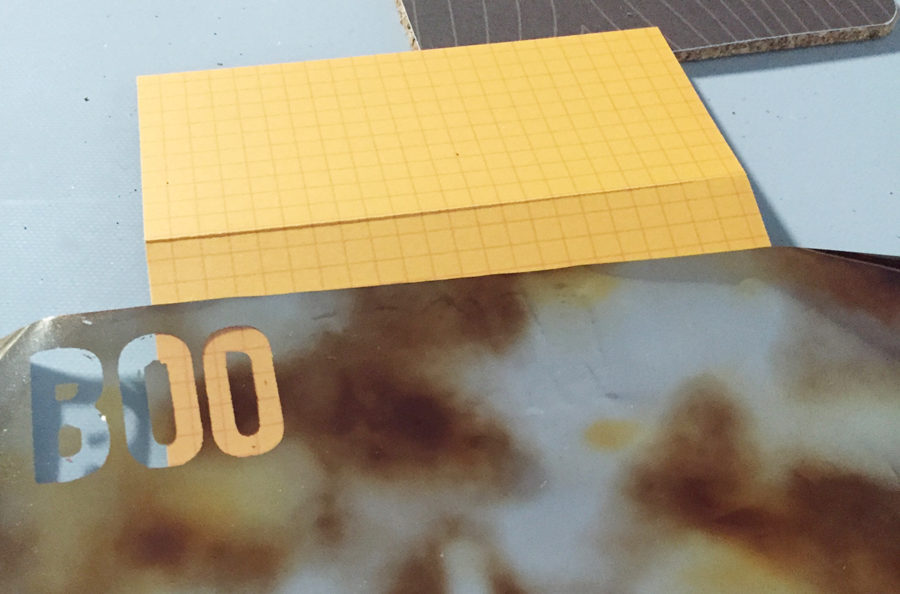
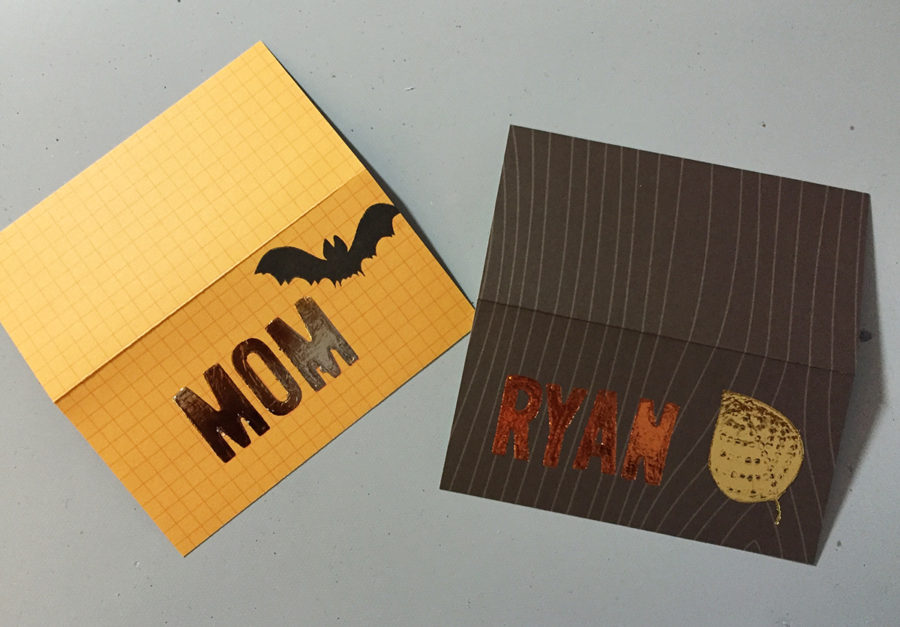
 Next, I die cut all the names and sentiments out of iCraft® Easy-Cut Adhesive and adhered them to the coasters and the placecards.
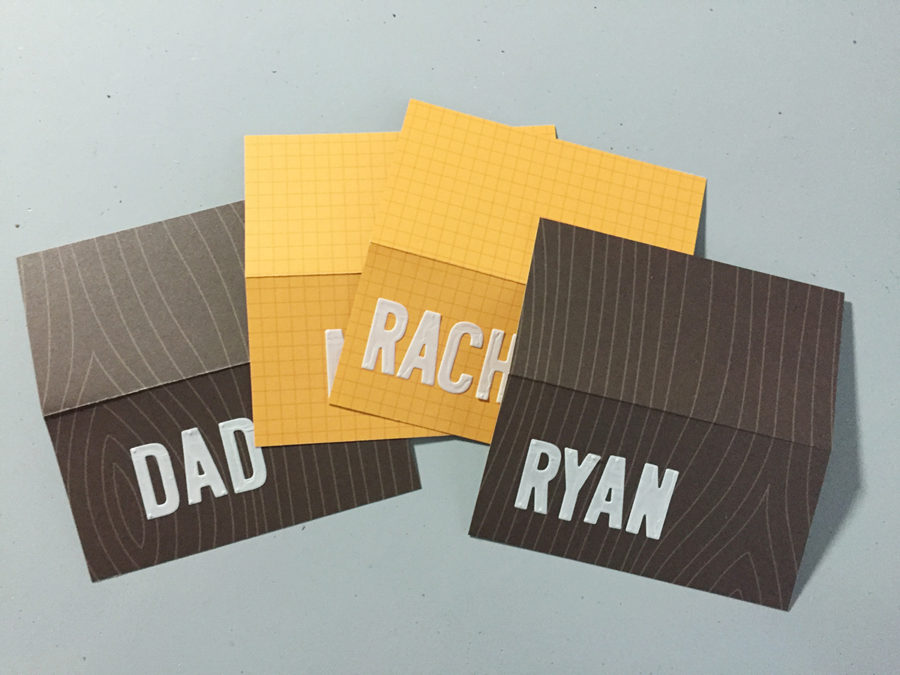 And here comes the fun part! It's time to foil everything! :) Simply peel off the release tape on the front of the letters and press the foil (silver side down) onto them. You can use your fingers or you can burnish it with a bone folder.
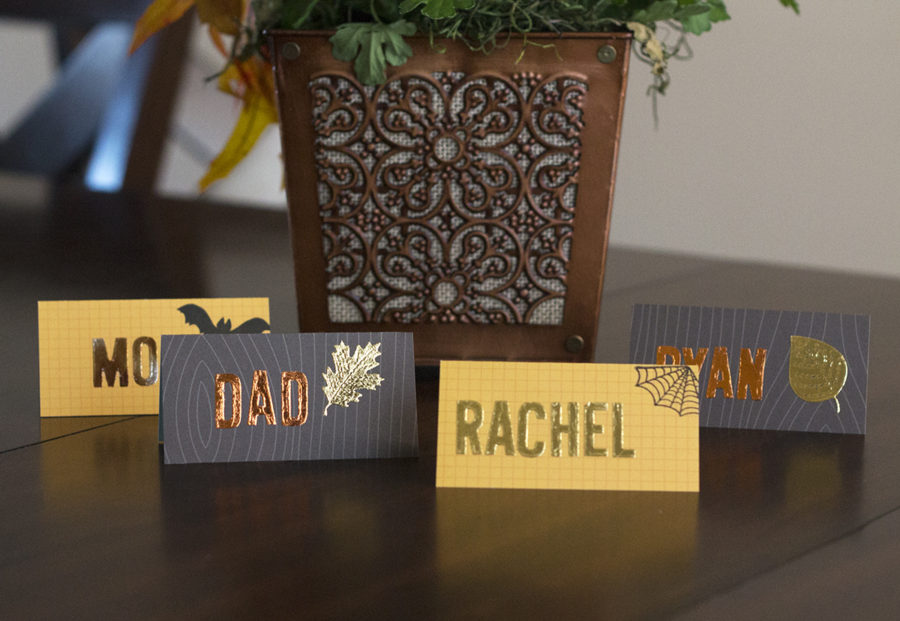
 I varied my foil colors, but stuck with Halloween-y colors (Pumpkin, Gold and the new Amber Watercolor).
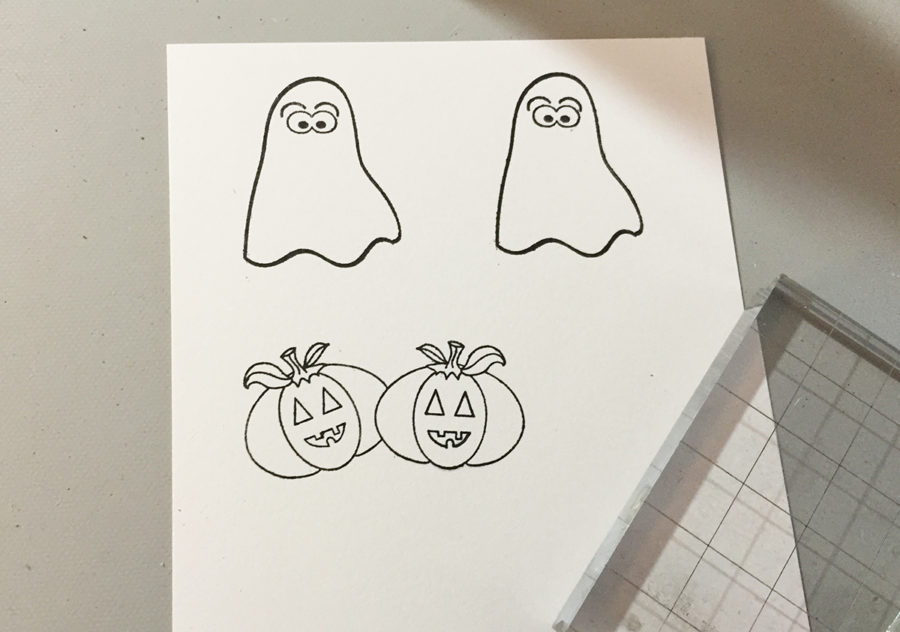
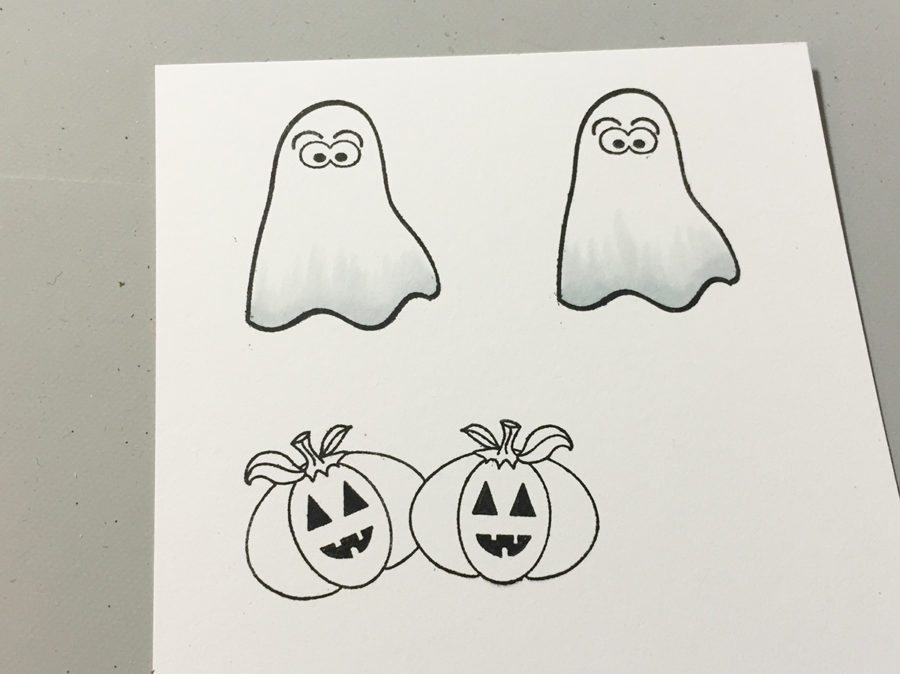
 So... this is where Halloween patterned paper would have saved me some time! If you have fun papers, you can cut out images and stick them all over your cards and coasters, along with stamping. Since I didn't have that, I stamped some images and colored them in (I used Spectrum Noir Markers, but you can use whatever you want to color - I just like how vibrant images look with alcohol markers).
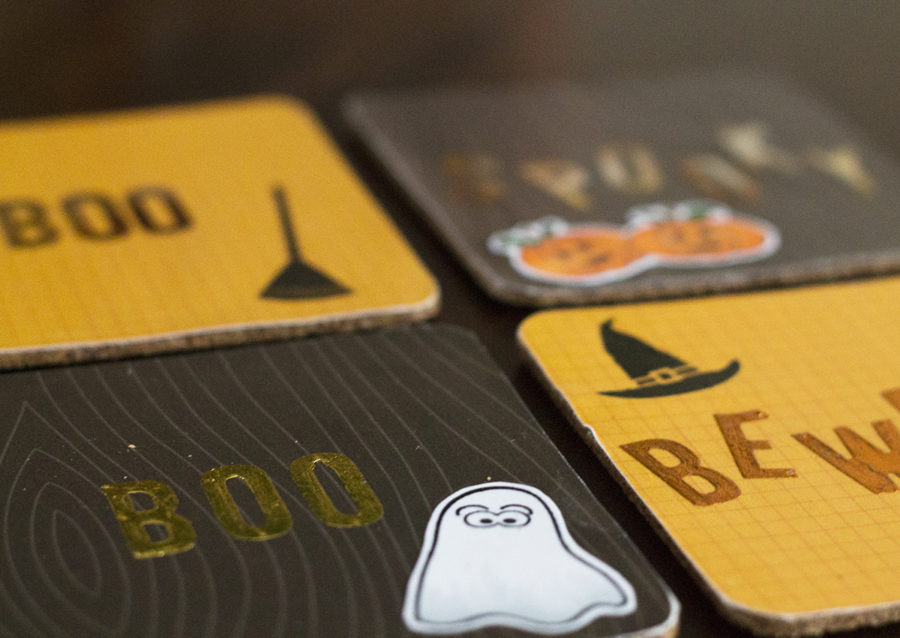
 Add additional stamping, foil, anything that floats your boat to the placecards and the coasters! Just remember to keep those coasters nice and flat so your Jack-O-Lantern juice and Witches Brew don't fall off the table! :)
 Adhere the stamped images with a tape runner. Make sure to seal the coasters. I used Mod Podge. This will keep everything on the cork and it will protect your work from liquid!
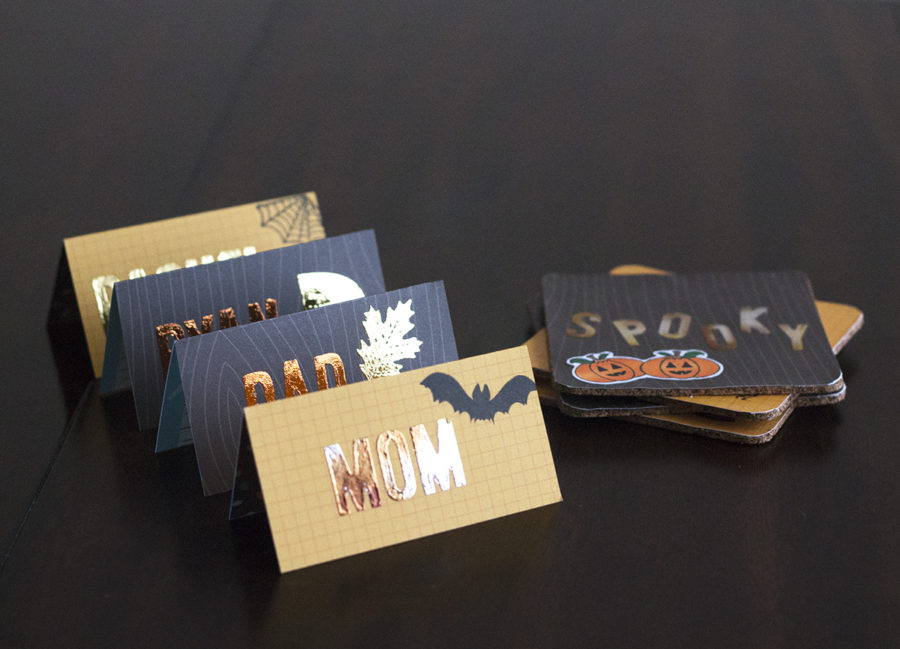
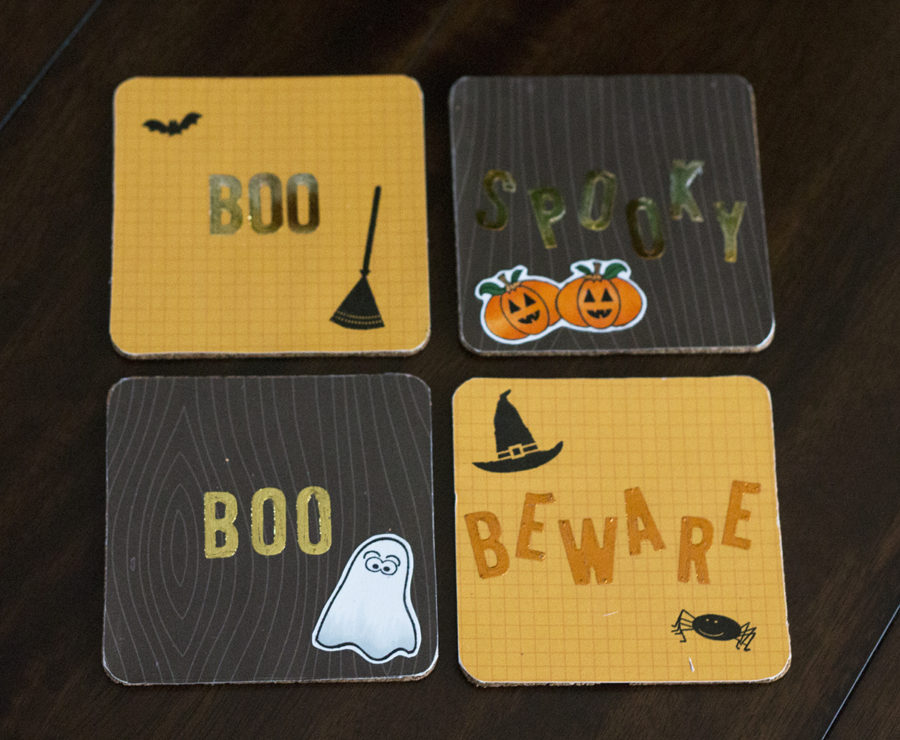
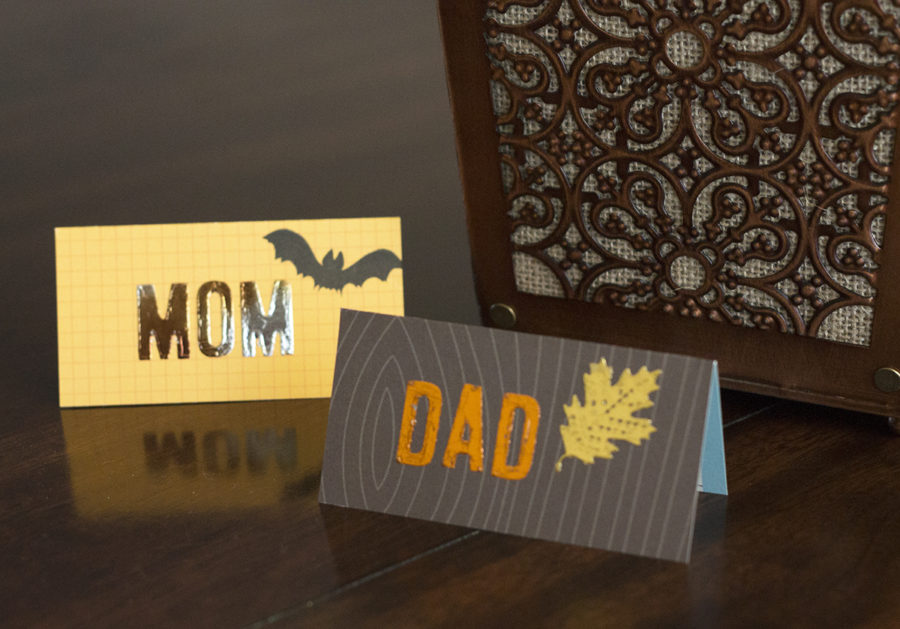
Below are a few images of the final pieces. I did 4 total of each. Prep for this took a little while (the die cutting took the longest), but once I got started, the adhering and foiling went pretty fast. These wouldn't be bad to produce for a big Halloween Bash!
Adhere the stamped images with a tape runner. Make sure to seal the coasters. I used Mod Podge. This will keep everything on the cork and it will protect your work from liquid!
Below are a few images of the final pieces. I did 4 total of each. Prep for this took a little while (the die cutting took the longest), but once I got started, the adhering and foiling went pretty fast. These wouldn't be bad to produce for a big Halloween Bash!
 Do you plan to use foil on your Halloween projects? Let us know! Use the hashtags #decofoil and #thermoweb on Social Media and share away!
-Chrissie
Do you plan to use foil on your Halloween projects? Let us know! Use the hashtags #decofoil and #thermoweb on Social Media and share away!
-Chrissie