No Products in the Cart
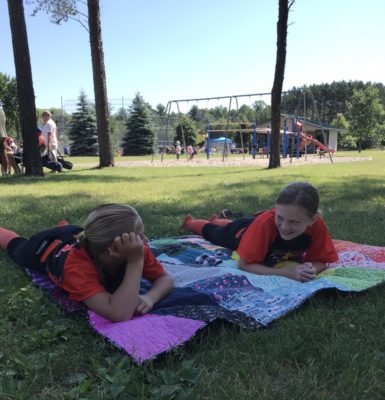 I figured since I couldn't be at the machine, I'd at least make a fun quilt that I could take with me to the fields. I also wanted this to be a quick and easy quilt that I wouldn't mind having dirty, sweaty kids lay on in between games.

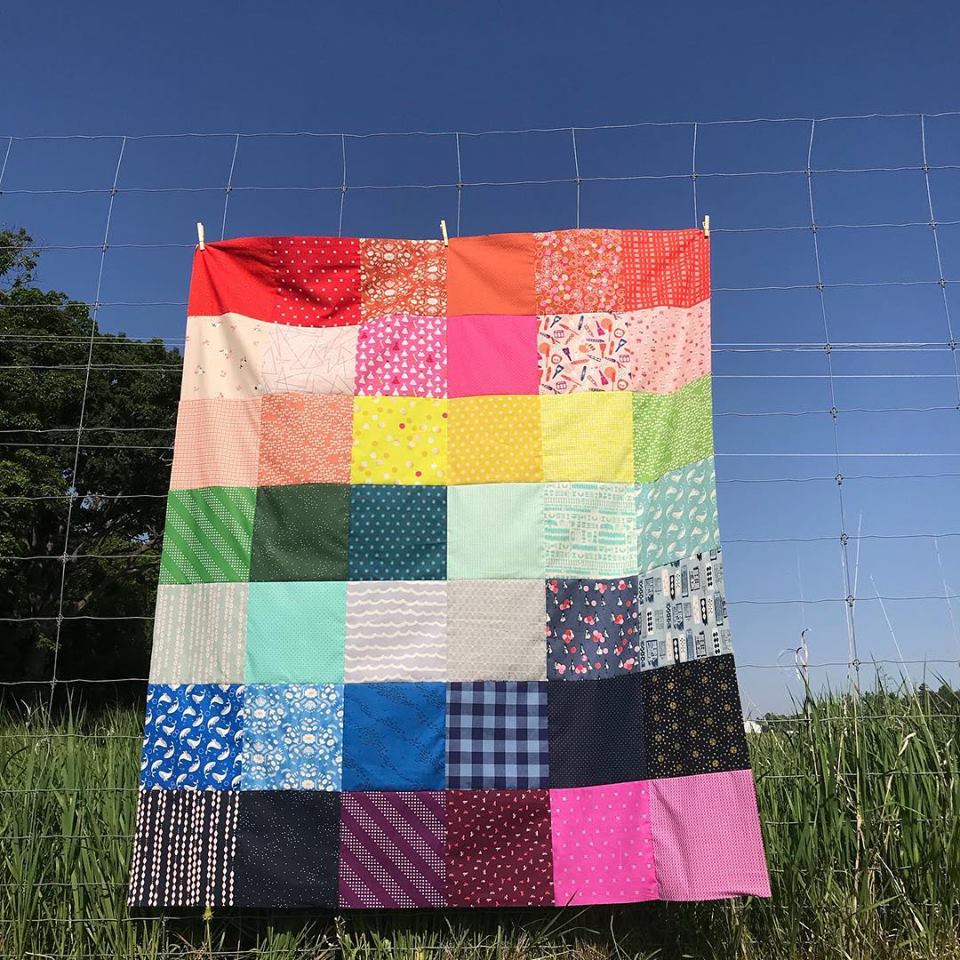 I kept sewing in order until I created a 6x7 grid of 10" squares. I thought this looked cool on it's own but I felt like i needed to personalize it a bit more for the softball girls.
I wanted to applique the outline of a softball onto the quilt. The first step for that was to draw out a template for the softball. I wanted the softball to be as big as I could easily make it.
I kept sewing in order until I created a 6x7 grid of 10" squares. I thought this looked cool on it's own but I felt like i needed to personalize it a bit more for the softball girls.
I wanted to applique the outline of a softball onto the quilt. The first step for that was to draw out a template for the softball. I wanted the softball to be as big as I could easily make it.
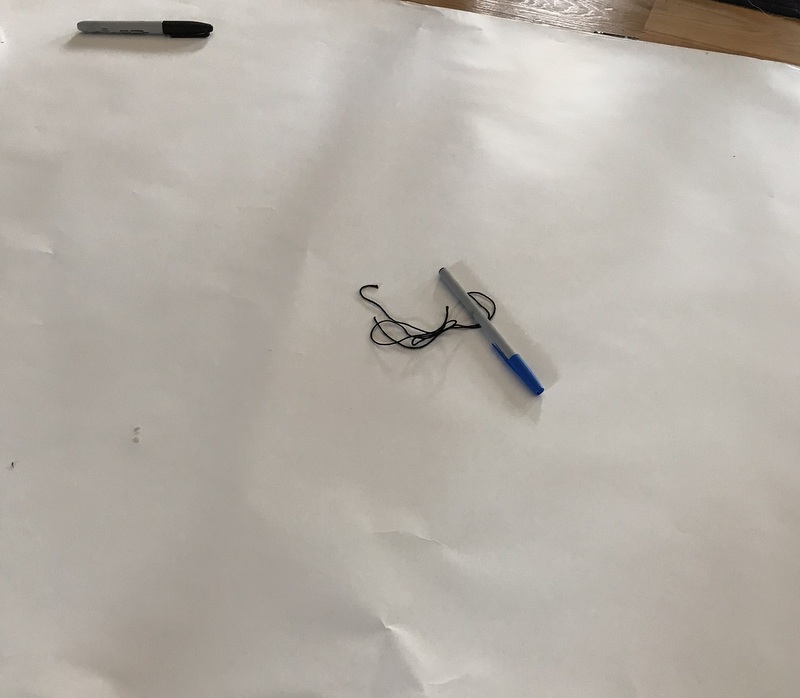 We have a roll of large paper in our basement so I ripped out a square of that, grabbed a pen and piece of yarn. (If you don't have a large roll of paper you can also tape pieces of paper together until it's the size you desire).
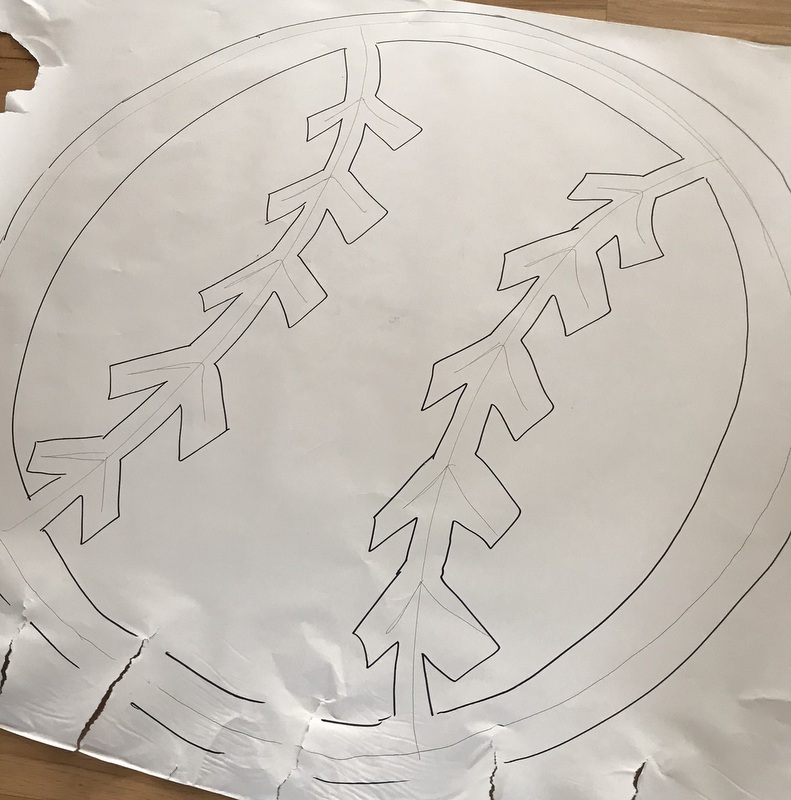 I created a compass with the yarn and pen and drew out a circle of the softball. This was the main shape I needed to then sketch out the rest of the image. It's not perfect but it really doesn't need to be!
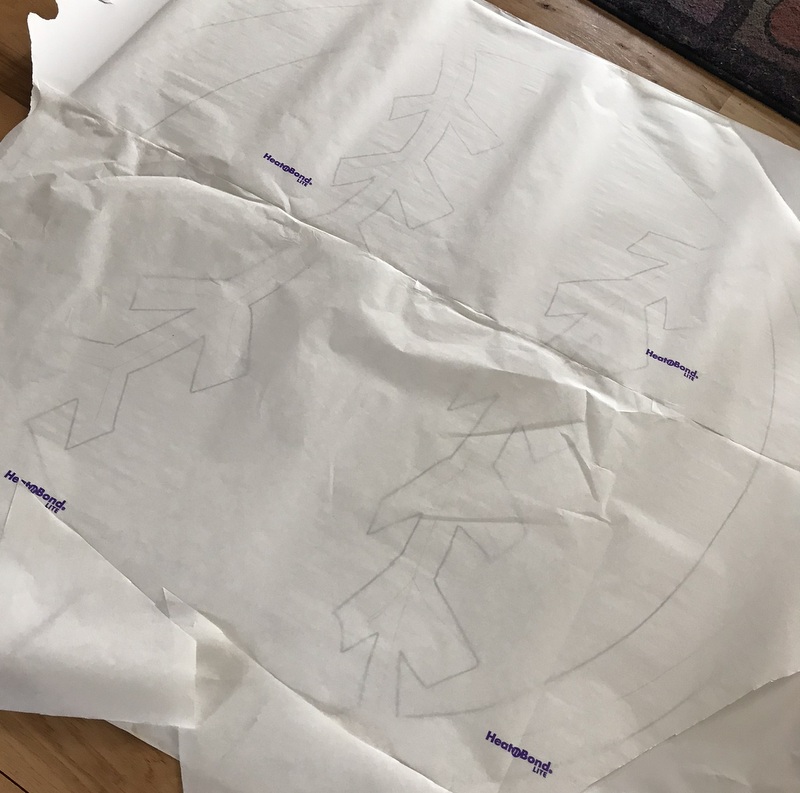 Once I had my softball image drawn, I put together pieces of HeatNBond® Lite, layed it over the and retraced the image onto the fusible.
 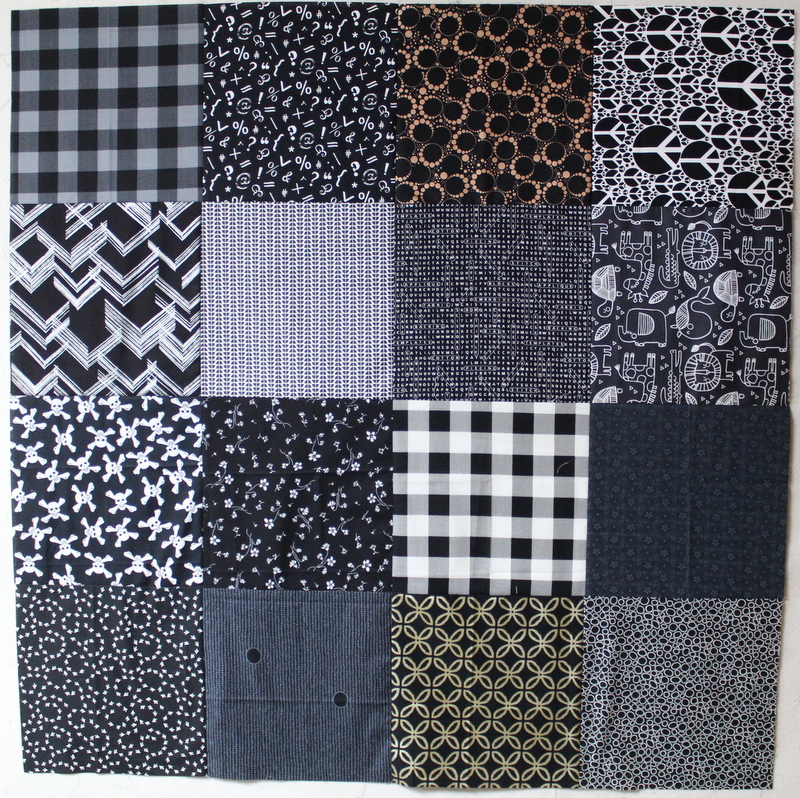 Once I knew the size of my softball (around 36" in diameter) I pieced together a 4 x 4 grid of sixteen 10" black fabrics (these just came from my stash ... no layer cake). I wanted to mimic the patchwork look of the base quilt in the softball.
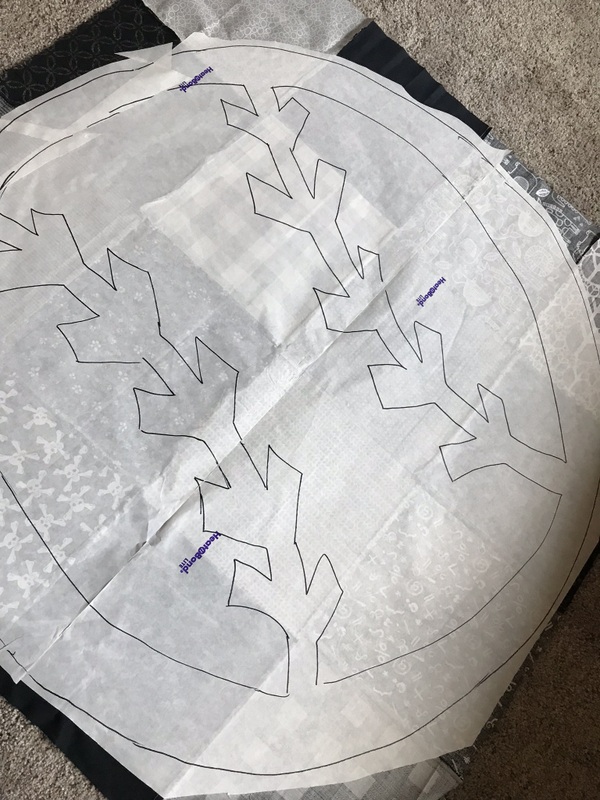 Carefully iron on the HeatNBond Lite softball to the back of the 4x4 grid.
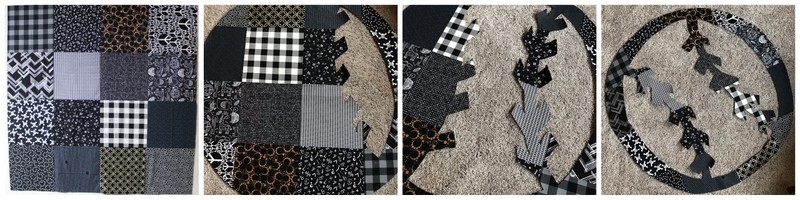 Once it's fused properly - cut out the softball along the drawn lines.
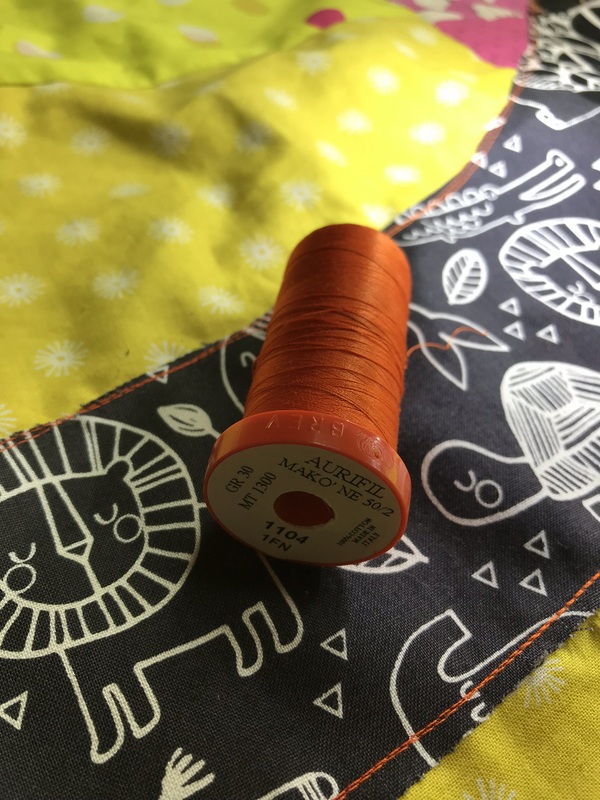 Since the softball drawing was fused down with Heat N Bond Lite the edges needed to be securely stitched into place. I used Aurifil, 50 wt. Color 1104 thread - yes orange - to do just that. I'm guessing you think it's odd that I chose orange to stitch down a black ball. Well - orange is the schools color and the color of my girls' softball teams. I figured since the quilt itself is rainbow colors, it would be appropriate to use orange at least as the thread. I didn't use a fancy stitch - just a straight stitch but I went around the edges twice so I didn't have to worry about being perfect. That second layer of stitching just helps make the piece a bit more unique and fun looking.
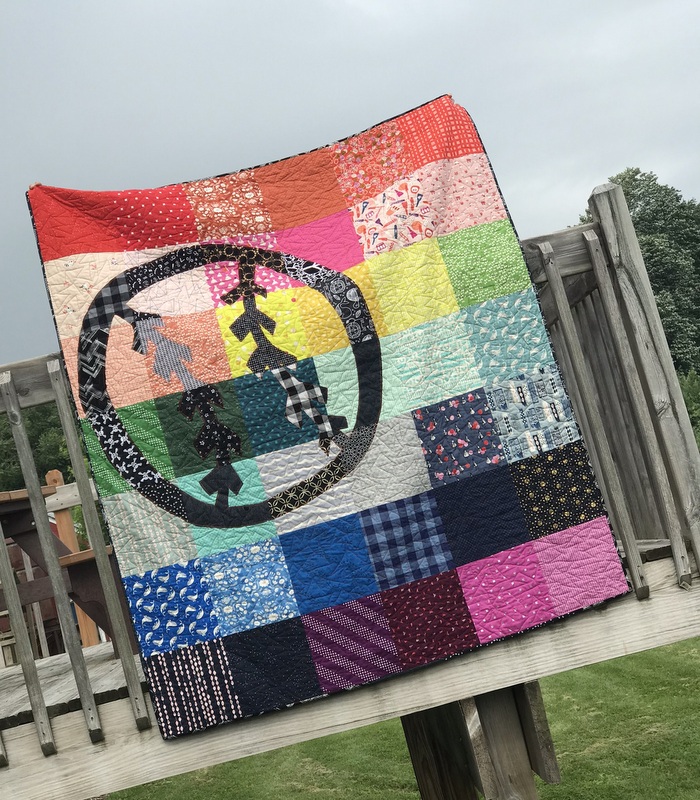 Once the top was done ... I sent it to my long arm quilter - Kim Van Etten - to work her magic. She did a simple all over quilting design, I bound it at the tournament we played in last weekend (and we took 3rd out of 16), and it's now ready to go!
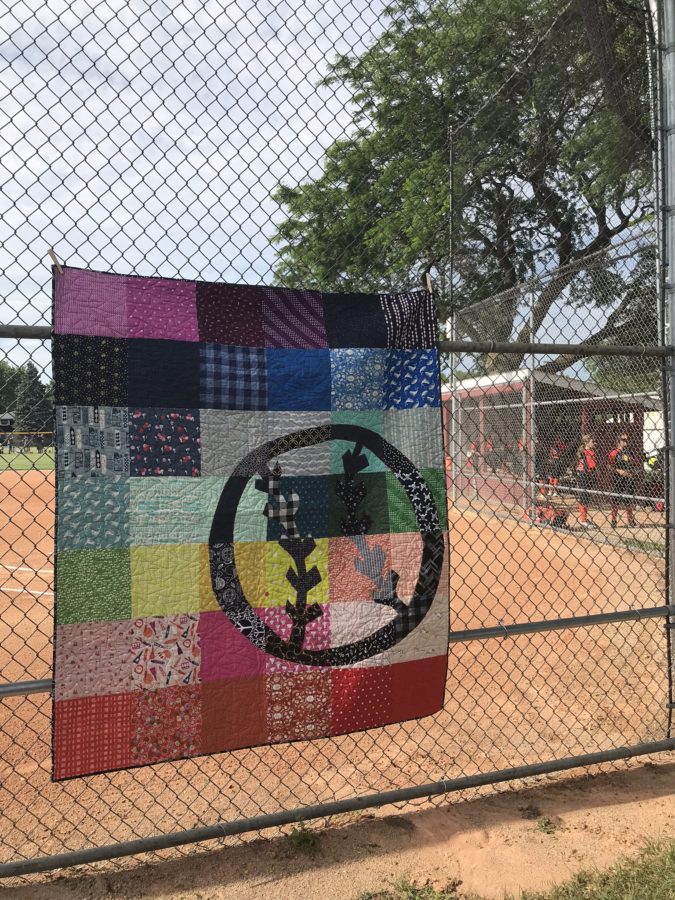 The very final step was to take it to the ball diamond and get a photo while the girls warmed up before the game!
I hope you enjoyed reading about my creative process and remember that HeatNBond® Lite is a great tool to utilize when you want to add that pop of fun to a quilt. If you're not a softball fan remember this same idea works for pretty much any sport! I'm guessing it won't be long before you see a basketball and gymnastics quilt from me too!
The very final step was to take it to the ball diamond and get a photo while the girls warmed up before the game!
I hope you enjoyed reading about my creative process and remember that HeatNBond® Lite is a great tool to utilize when you want to add that pop of fun to a quilt. If you're not a softball fan remember this same idea works for pretty much any sport! I'm guessing it won't be long before you see a basketball and gymnastics quilt from me too!