We're happy to announce we've teamed up with our friends at Joy Clair for this week! It's a new promotion for us with a company who offers beautiful stamps. You'll find products creative stamps for crafting and bible journaling.
We invite you to visit their blog and website to see their products and what their design team has created for our product promotion.
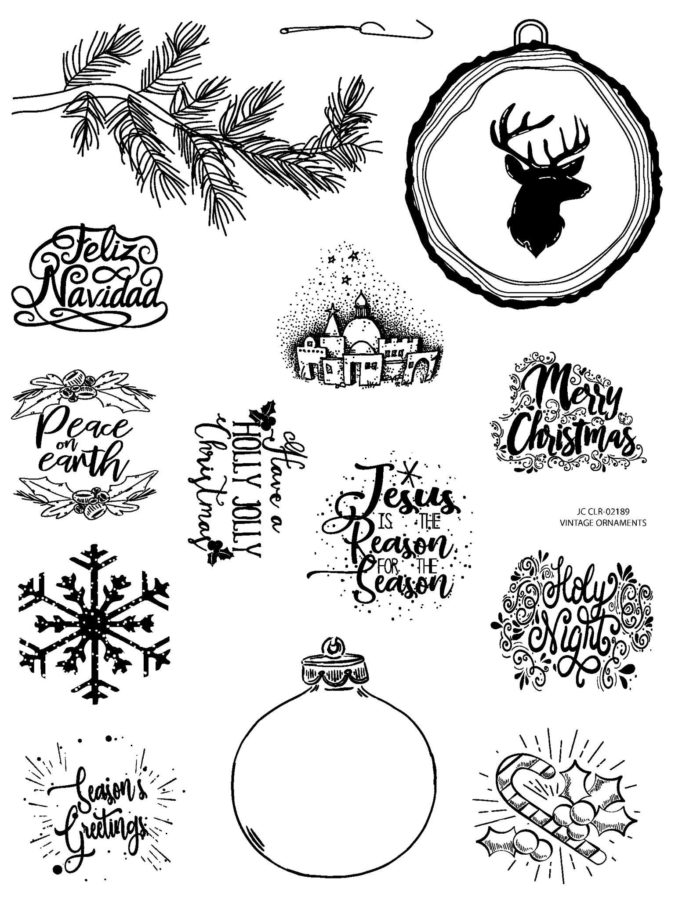
Here's one of their new releases that we love...Vintage Christmas Ornaments!
All this week you'll find projects twice a day from our team of designers and the talented team at Joy Clair! Don't miss a day!
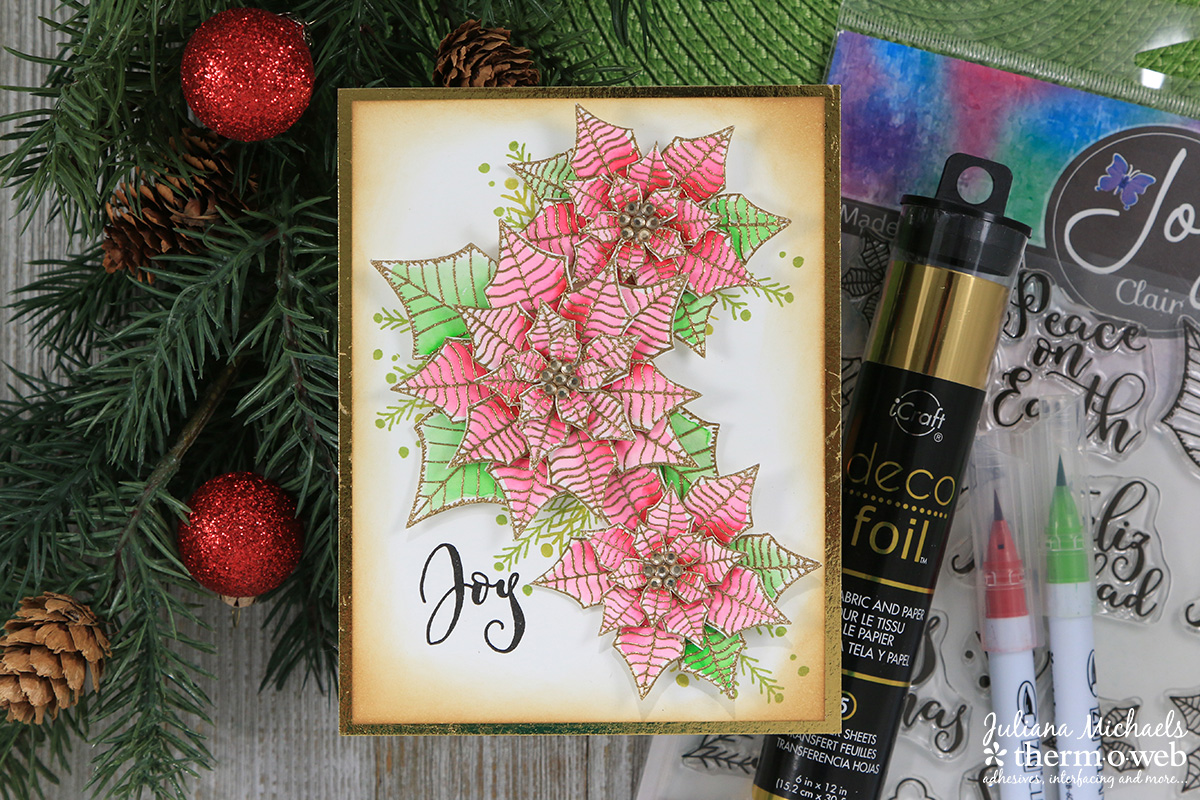
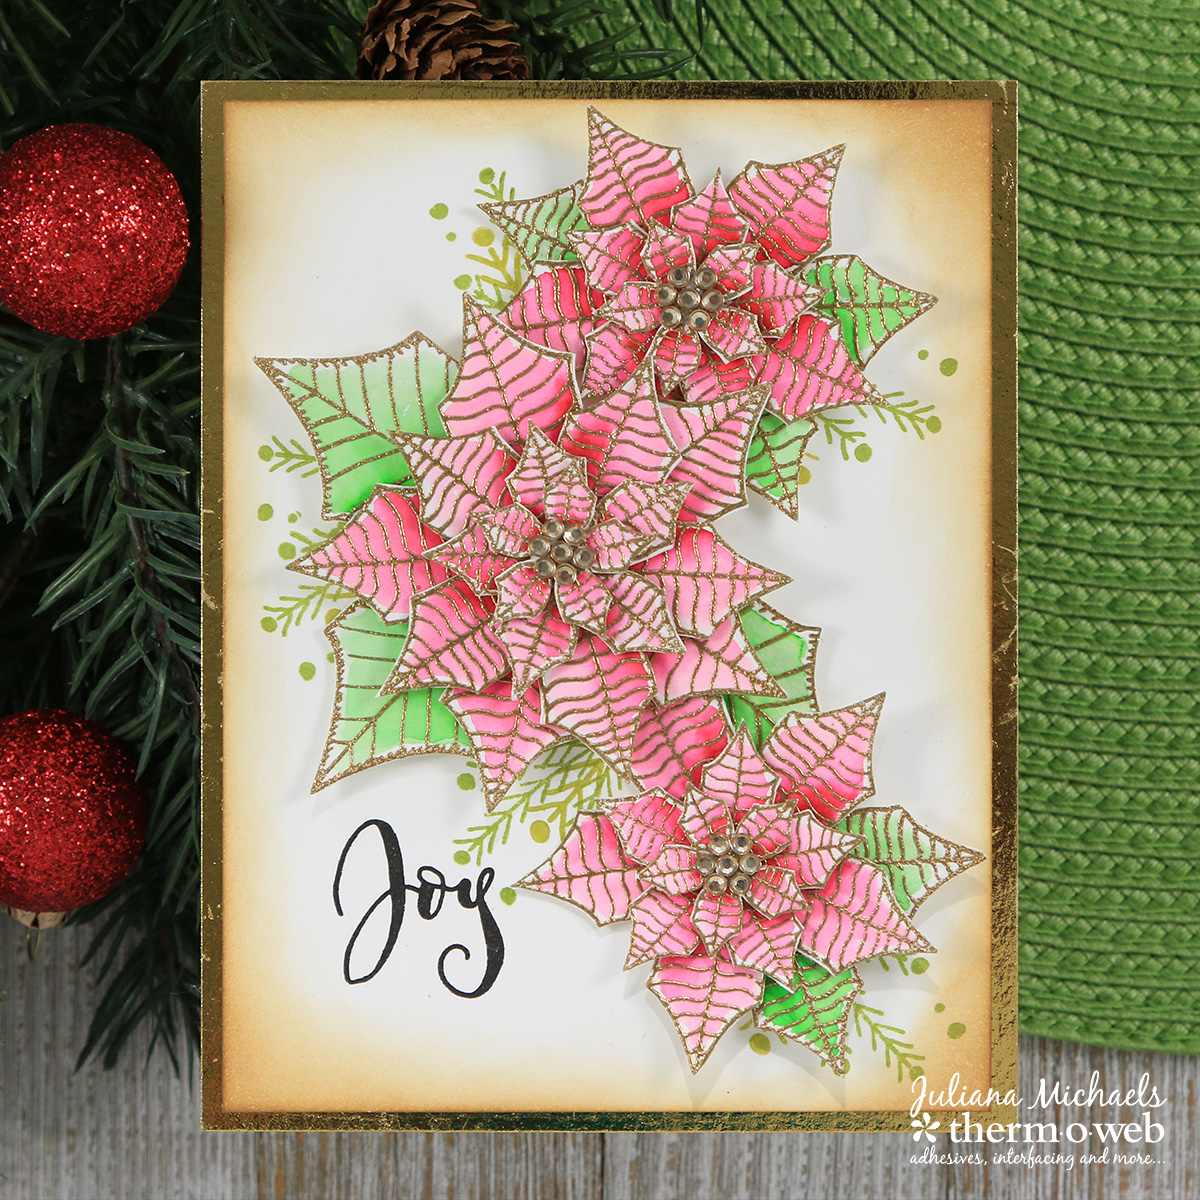
Joy Clair and Deco Foil 3D Poinsettia Christmas Card
Hello friends! It's
Juliana Michaels with you today to share a 3D Poinsettia Christmas Card I created using a beautiful stamp set from Joy Clair along with Therm O Web Deco Foil and Adhesives.
 Joy Clair and Deco Foil 3D Poinsettia Christmas Card Instructions:
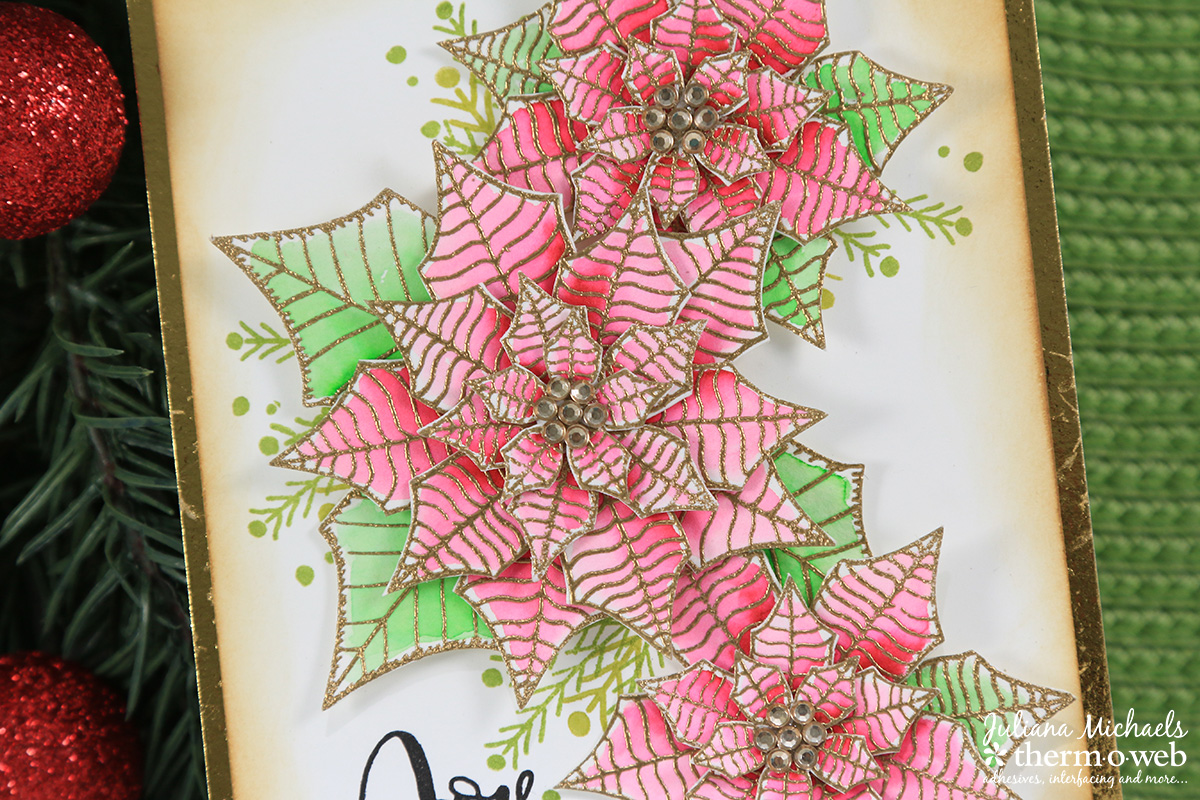
Begin by stamping the images from the Joy Clair 3D Poinsettia Stamp Set onto watercolor paper using Versamark Embossing Ink. Sprinkle the images with gold embossing powder and set with a heat gun. Color each image using Zig Clean Color Real Brush Markers and a water brush. You can also use watercolors or any other type of coloring medium you prefer.
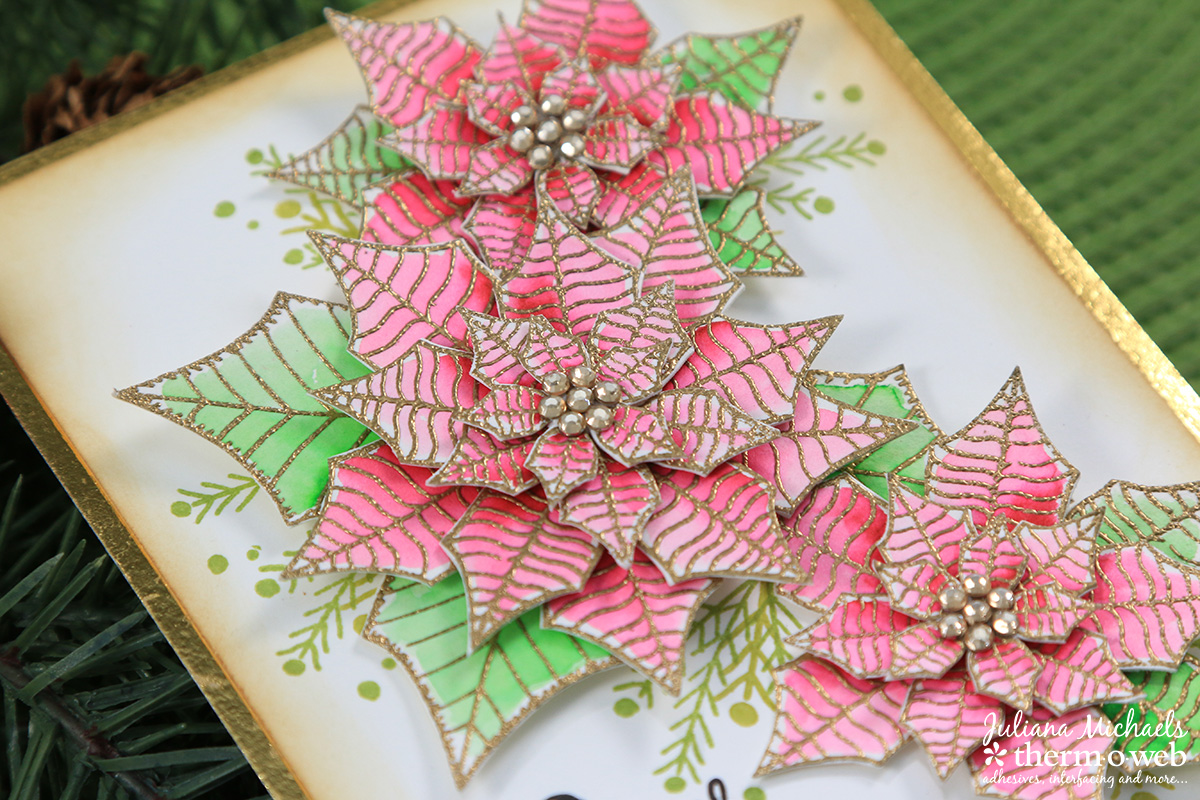
3D Poinsettia Christmas Card
To create the 3D Poinsettia, fussy cut each image with a pair of fine tip scissors. To give each flower the dimension you see here, cut a piece of
iCraft Deco Foil Foam Adhesive and adhere it to the backside of each piece. This product is typically used to transfer Deco Foil however it can also be used to add a little bit of dimension to your project without too much bulk or weight.
Remove the liner and stick each layer together to create each flower. Repeat this same process to adhere the leaves. You can also use the Foam Adhesive to adhere the flowers to the card front. Before adhering the flowers, stamp some of the foliage images and the sentiment onto the card front. Ink the edges of the card front with Distress Ink in Vintage Photo.
Distressed Foil Background
For some extra shimmer and shine with a bit of a distressed look, adhere a piece of
iCraft Easy-Cut Adhesive Sheet to a piece of cardstock cut to 4.25 x 5.5. Peel off the liner and adhere a piece of
Gold Deco Foil to the Adhesive Sheet. Run this entire piece through your die cut machine to help it adhere better. Peel of the Deco Foil Transfer Sheet to reveal your foiled paper.
The final touch is a touch of bling to the center. The jewels used here already had adhesive on them, however, they did not want to stick to the embossed images. To fix this problem, adhere a
Small Zot to the center of the flower and then add the jewels.
I hope you enjoyed this 3D Poinsettia Card created using Joy Clair Stamps and Therm O Web Deco Foil and Adhesives.
We hope you'll join us all this week as we share new projects with our friends at Joy Clair!
Be sure to stop by their blog daily for added ideas and inspiration featuring our two companies products!
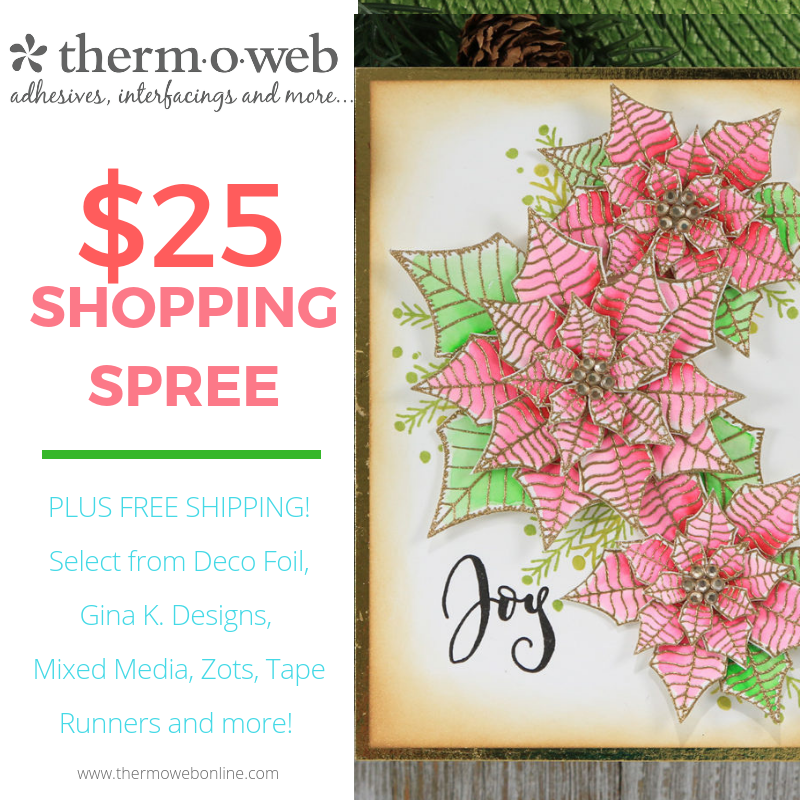
And so you can pick some new supplies to have fun creating...we're offering you a chance to win a $25 Gift Card to shop with us!
 a Rafflecopter giveaway