No Products in the Cart
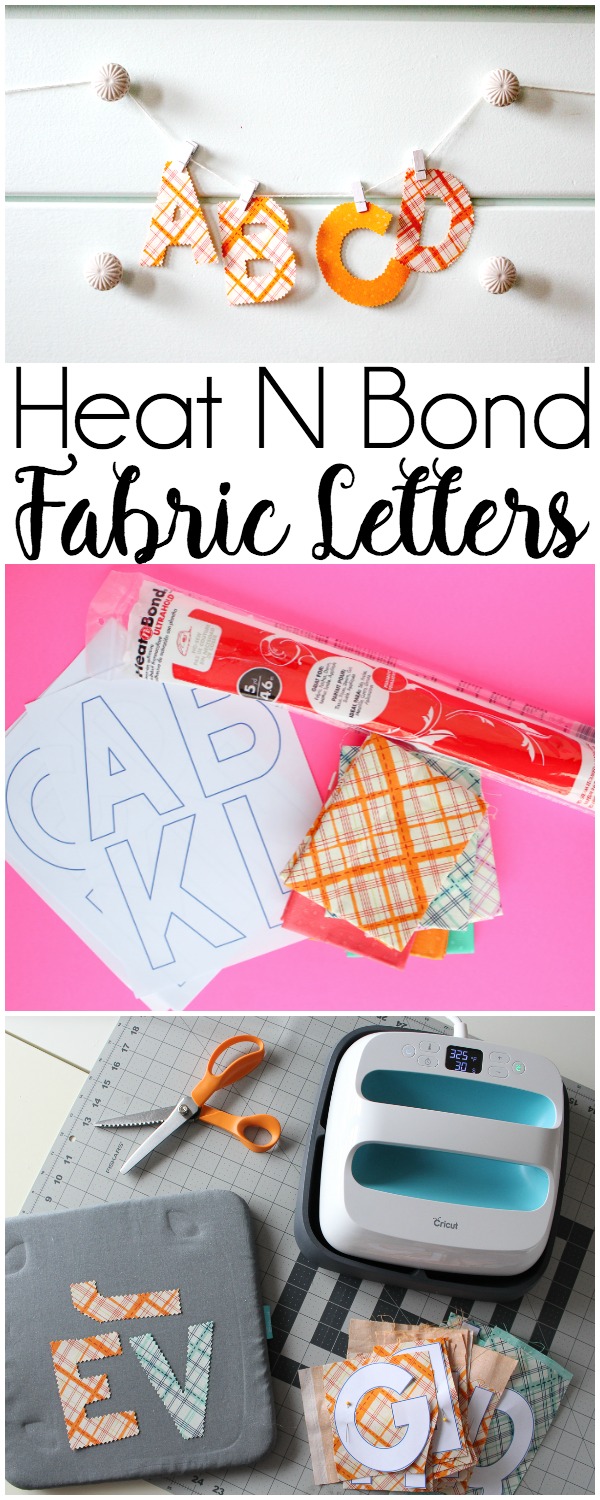
 No Sew Fabric Letter Instructions:
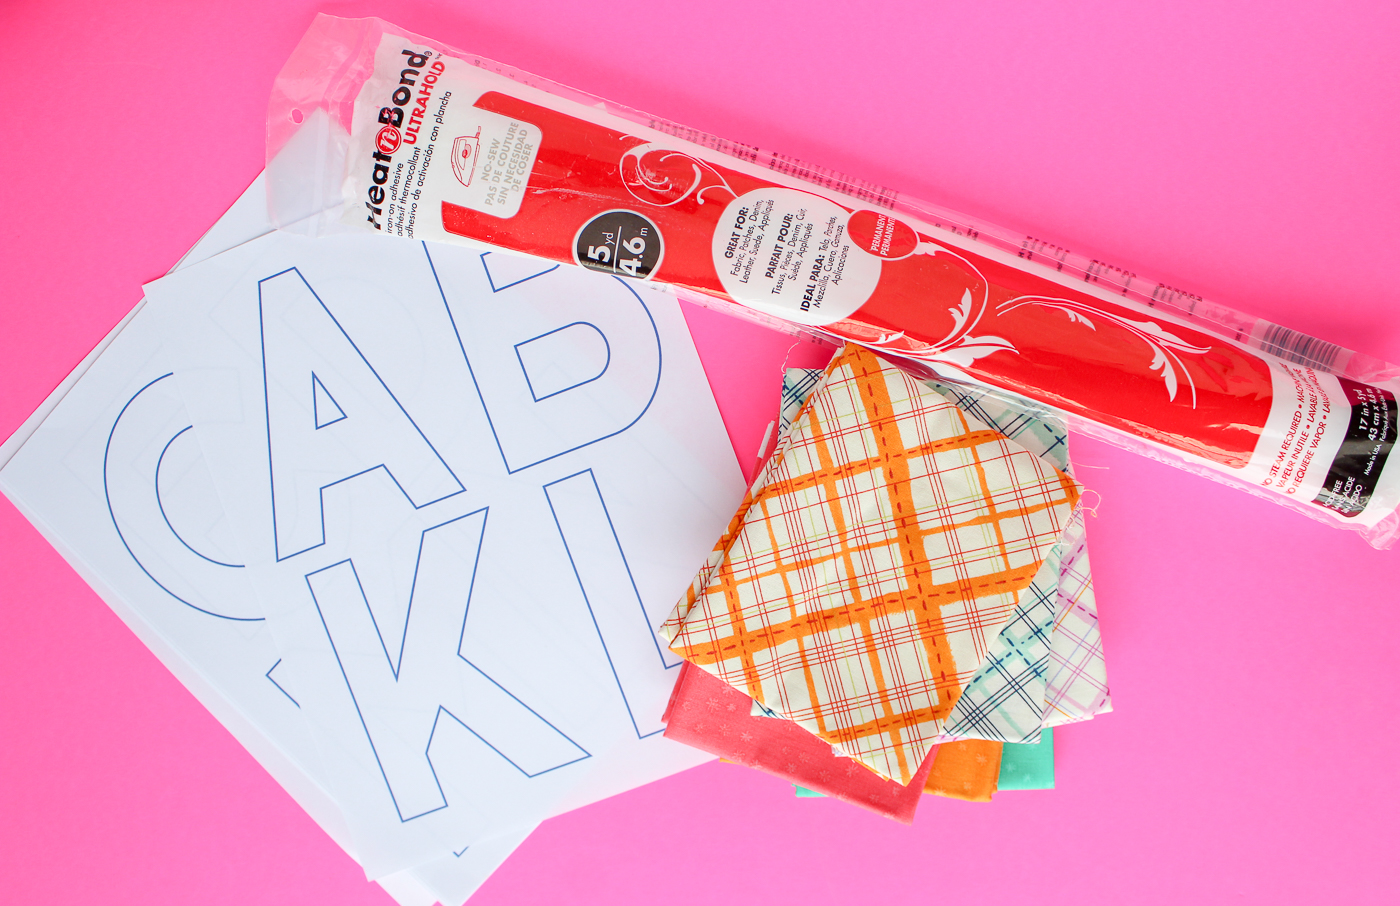
Print the letter templates (use the scale to fit page option if you can.) Two fat quarters will get you at least half of the alphabet if you print the letters as pictured. This tutorial features six fat quarters. I recommend making extra of the more popular letters so you have more options to spell longer words.
Iron on a piece of Heat N Bond Ultra to the back of three of the fat quarters. The roll of Heat N Bond is just a few inches smaller in width than a fat quarter which is perfect. Press the HeatnBond onto the fabric. I find that the HeatnBond works best as cold peel, which means let it cool before peeling the backing off.
No Sew Fabric Letter Instructions:
Print the letter templates (use the scale to fit page option if you can.) Two fat quarters will get you at least half of the alphabet if you print the letters as pictured. This tutorial features six fat quarters. I recommend making extra of the more popular letters so you have more options to spell longer words.
Iron on a piece of Heat N Bond Ultra to the back of three of the fat quarters. The roll of Heat N Bond is just a few inches smaller in width than a fat quarter which is perfect. Press the HeatnBond onto the fabric. I find that the HeatnBond works best as cold peel, which means let it cool before peeling the backing off.
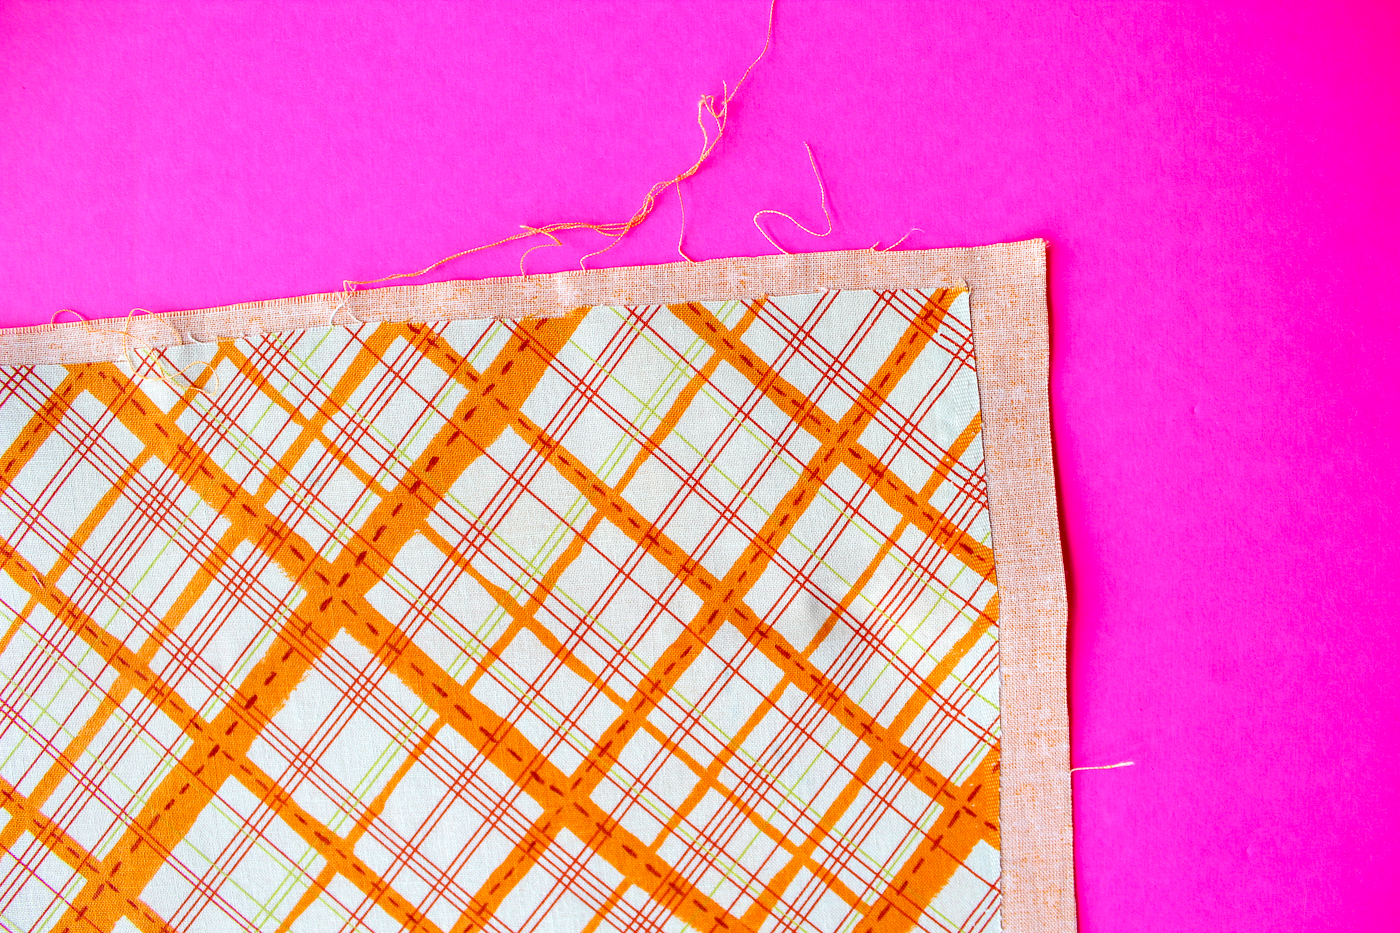
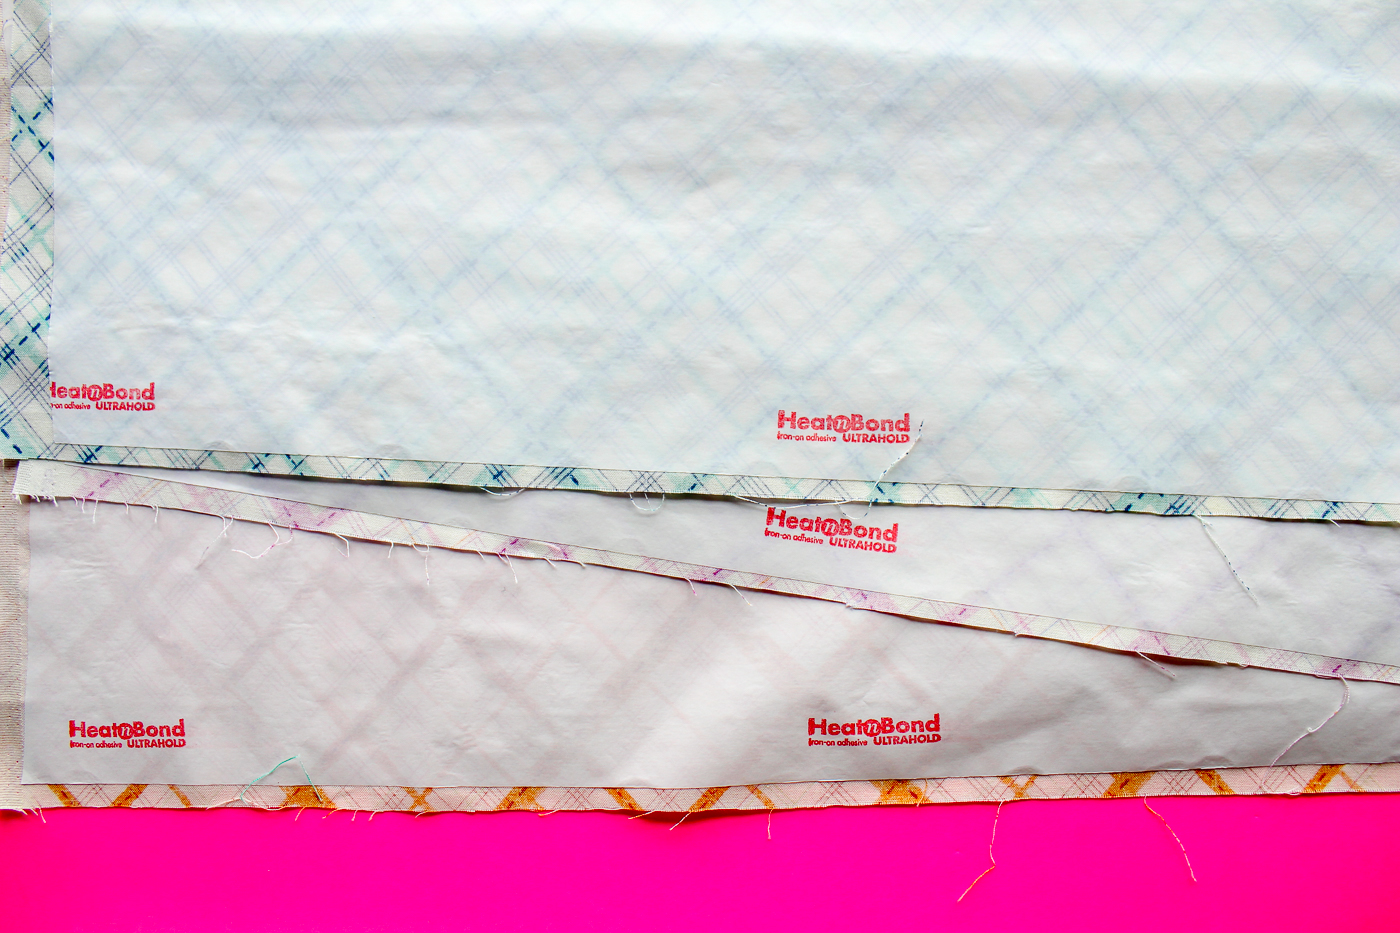 Trim the fabric to the size of the Heat N Bond. Then peel the paper and place the wrong side down on the wrong side of a second fat quarter. Now bond the two wrong sides of fabric together with your iron or EasyPress.
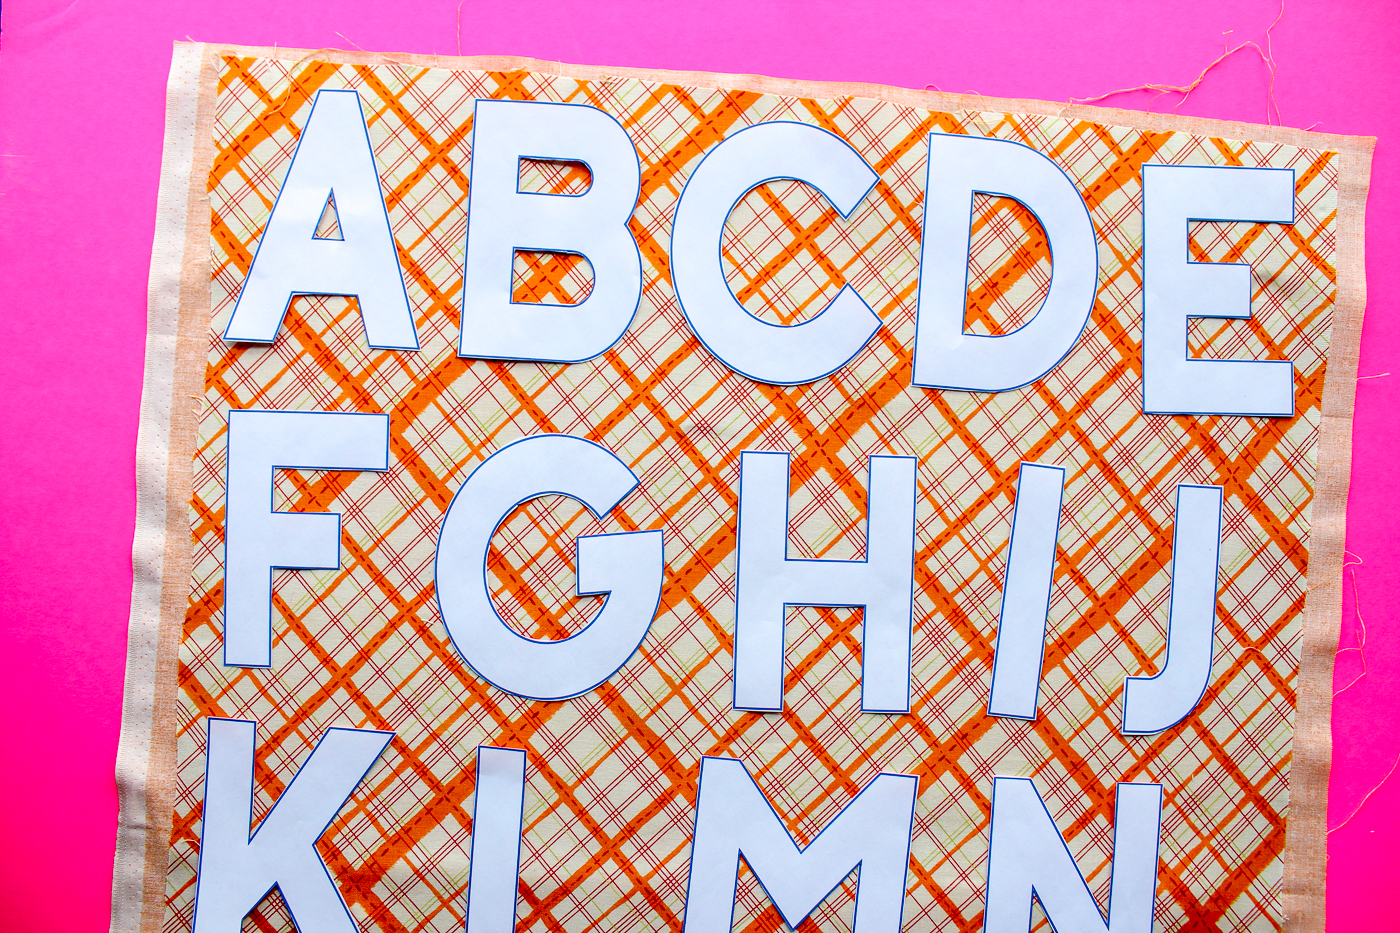
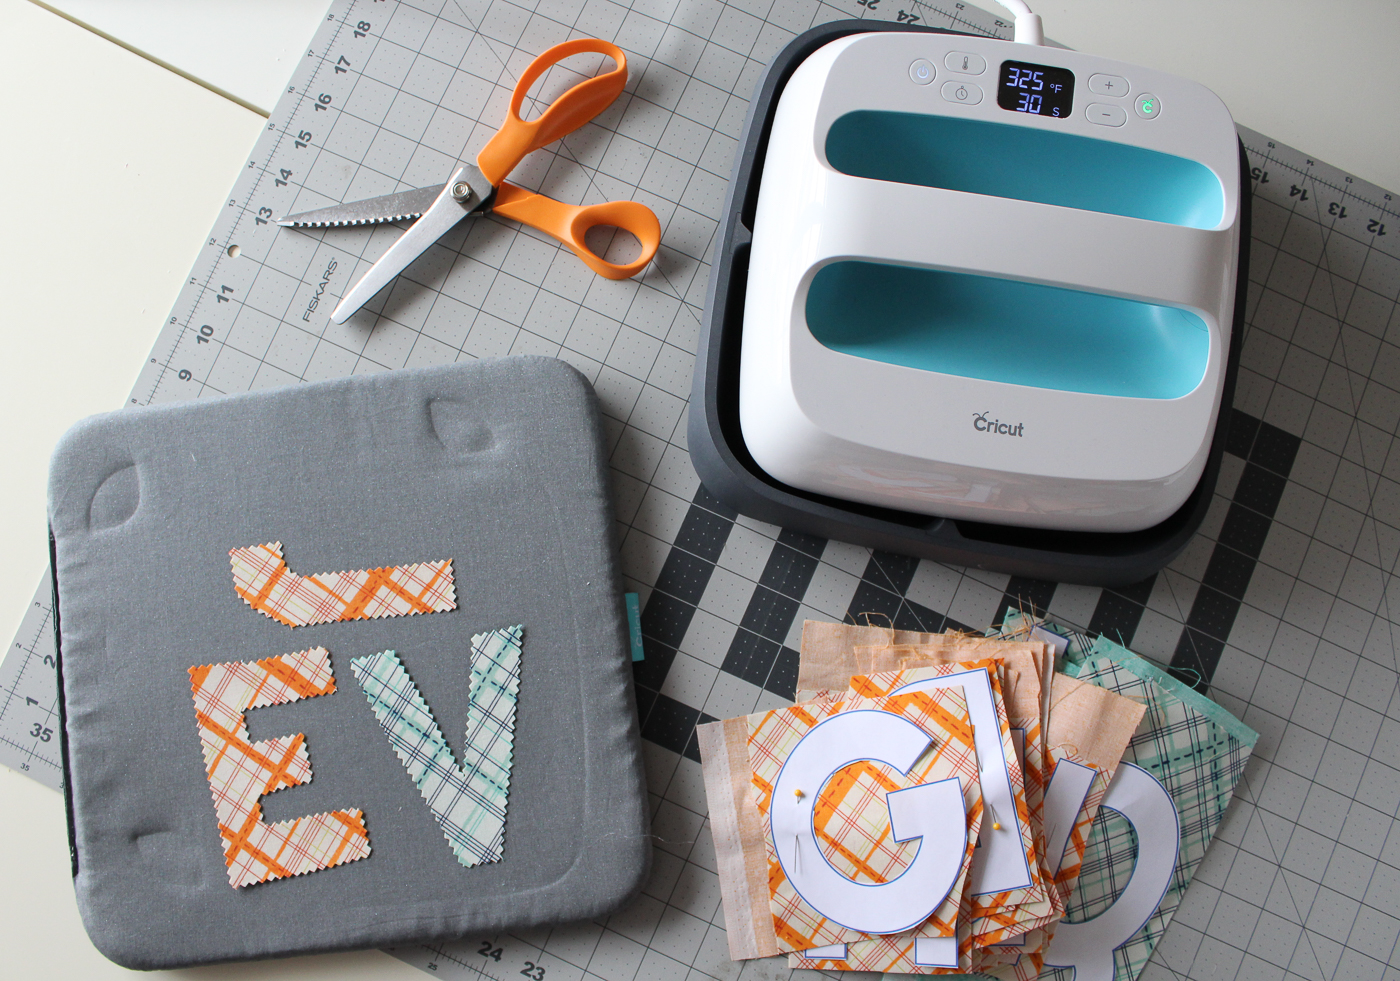
 Cut the letters out. You can print them on card stock or trace them onto cardboard if you plan to use them repeatedly. Place the letters on the fabric and pin in place.
 Once you have pinned the letters I find it easiest to use your fabric scissors to cut around the letters with a straight cut. Then cut around the letters using your pinking shears. Give each letter one more firm press to be sure that they are firmly bonded all the way around.
 That is it! You have a fun way to make banners or to work on site words with your little one.
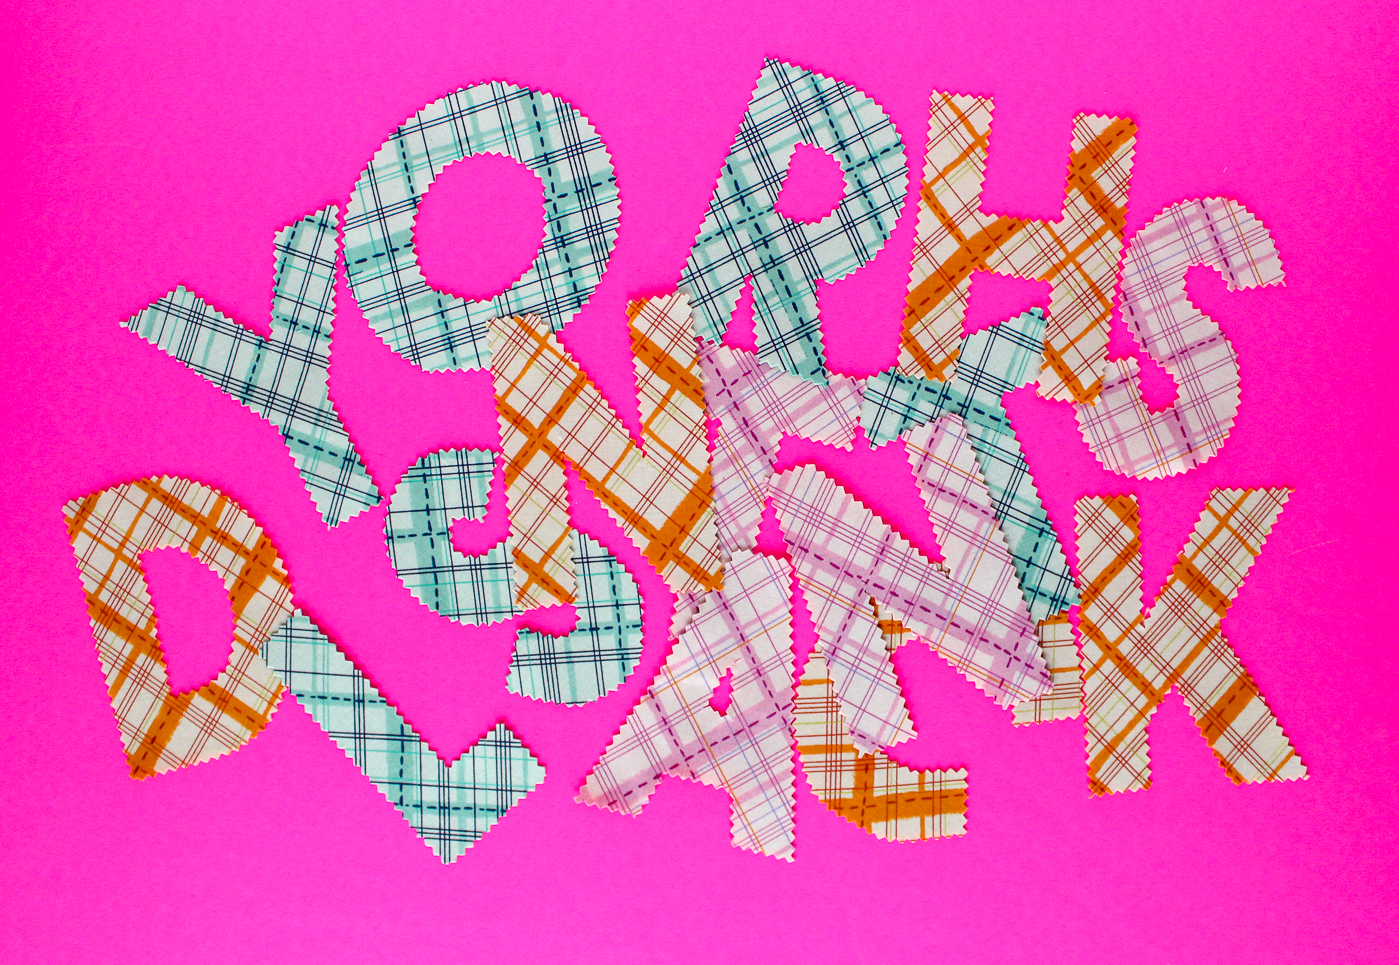 The kids will love playing with these! I made this entire set for my son's kindergarten teacher for teacher appreciation day. Because really a mug is nice but things they can actually use and didn't have to pay for out of their own pocket is pretty fantastic right?
 If you love this you will love these other projects.
Easy Receiving Blanket // Easy Apron with Pockets // Easy Sewing Tutorials
If you love this you will love these other projects.
Easy Receiving Blanket // Easy Apron with Pockets // Easy Sewing Tutorials
Connect with Sew What Alicia